Workouts
The Best Foam-Rolling Routines
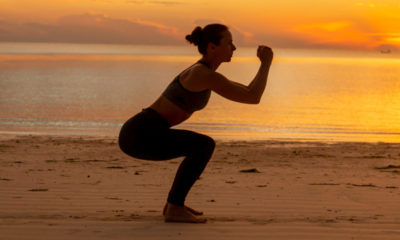
Navigating the stairs making you wince the day after a leg workout? Use these unique foam-rolling routines to accelerate healing after training your pins so you can get back you natural strut.
What is foam rolling?
There’s a blob of foam lurking in your gym’s corner that might cost next to nothing but has invaluable benefit on your ability to recover. If you’re training with intensity, foam rolling (also known as self-myofascial release) is an absolute must.
Your myofascia is a dense and flexible tissue that surrounds and covers all of your muscles. Its response to exercise is similar to your muscles in that it lengthens, shortens and can become knotted and tight thanks to repetition and overuse. Most people assume it’s their muscle that’s sore, but in reality it’s often an issue with their myofasica.
Working out causes small tears in the muscle fibre, and without proper recovery, they and the surrounding myofascia can develop adhesions and knots over time. The uncomfortable sensation of an overly tight muscle is often caused by knotted and tight fascia. These knots and adhesions then lead to tight or achy muscles and a decreased range of motion, putting you at risk from injury. In addition, when fascia is damaged it can cause further problems like spasms, headaches and even numbness.
To reduce your risk of injury and to ensure you’re able to continue hitting your workouts with intensity, foam rolling is a recovery tool you don’t want to skip. It has the same effect as a deep tissue massage but is less expensive and can be done at home.
Rolling recovery moves
Do these moves at least three times per week, preferably after exercise when your muscles are warm. Hold each move for at least one minute, slowly rolling back and forth on the roller, to feel less sore the day after.
Hamstrings
Sitting on the floor, place the roller under your thighs. Carefully roll from the back of your knee up to your buttocks and back down again. For a deeper tissue release and increased pressure, work one hamstring at a time by stacking your feet and allowing the roller to press deeper into your hamstring. Work each leg for one minute, paying special attention to tight and tender areas.
Quadriceps
Lie on your stomach with the roller placed under the front of one of your thighs. Use your arms for balance, lift your core and slowly roll up and down from the top of your knee to the bottom of your hip. Work one quadricep at a time for one minute, stopping to apply extra pressure to tender and sore areas. You’ll be surprised by how tight your quads really are.
Adductors (Inner Thighs)
Lie on your stomach with one leg extended to the side, keeping the knee slightly bent. Place the roller in the groin area of the extended leg and roll out your inner thigh, using your arms for balance. Pay particular attention to tight areas and roll out any knots you may feel. Work each leg for one minute.
Abductors (Outer Thighs)
Lie on your side and place the roller under your outer thigh. Rest your opposite leg on the floor in front of you and use your arm to pull your core up off the floor. Roll along your outer thigh, increasing pressure by playing around with the placement of your resting leg. Roll each leg for one minute.
Glutes
Sit directly on the roller and extend one leg in front of you. Place your foot from the opposite leg on the extended leg’s knee. Lean into your buttocks’ muscles by using your arms for balance. Roll back and forth on your buttocks, working out any kinks, using your extended leg to control the pressure. Work one side of the buttocks for one minute and then switch to work the other.
Find workout tips and more in every issue of TRAIN for HER magazine.