Fitness
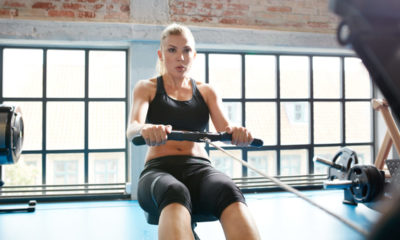
Rowing Machine Tips & Workouts for Beginners
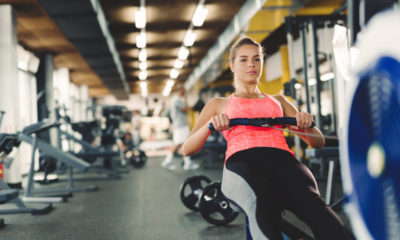
Are you just starting out using an indoor rowing machine? Are you thinking of trying some rowing workout classes at your local gym but aren’t sure where to begin?
This is the perfect place for you, then! My name is Petra Amara, and I’ve been rowing on the water nearly my entire life, and lately, I’ve been doing lots of workouts on my rowing machine.
Rowing classes used to be nearly impossible to find, but as more and more people discover the benefits of rowing, indoor rowing machines have literally exploded in popularity!
Today, I want to give you some of my best tips and a terrific workout plan or two for beginners. Whether you’re 26 or 66, this advice is perfect for all ages.
Basic Rowing Machine Terminology
Rowing is nowhere near as complicated as you might think, but it will make things easier if you learn a bit of the lingo so you don’t feel so lost.
- The Erg– This is short for Ergometer, the small device that measures and tracks your workout data. You’ll hear some people call their rowing machine an Erg, and everyone wants to “beat” the Erg, meaning they want to beat their old time or distance.
- Performance Monitor– Sometimes called a PM, this is similar to the Erg, but it may have more info than just a basic Erg. A PM might have a large touchscreen tablet so you can stream workouts.
- Footplates– This is where you rest your feet.
- Split or Split Time– It might help you to think of your split as MPH on a bike. A standard measurement with rowing is 1,000 meters. Split time is the time it takes you to row half of that or 500 meters. When the number goes down, you are rowing faster, and everyone wants to beat their own or a buddy’s split time.
Now that you’ve learned a bit about your machine, let’s talk about the strokes.
Rowing Stroke Basics
It’s important to learn the proper technique when rowing to avoid a sore back, elbows, or hips.
Each stroke consists of four parts: the Catch, Drive, Finish, and Recovery.
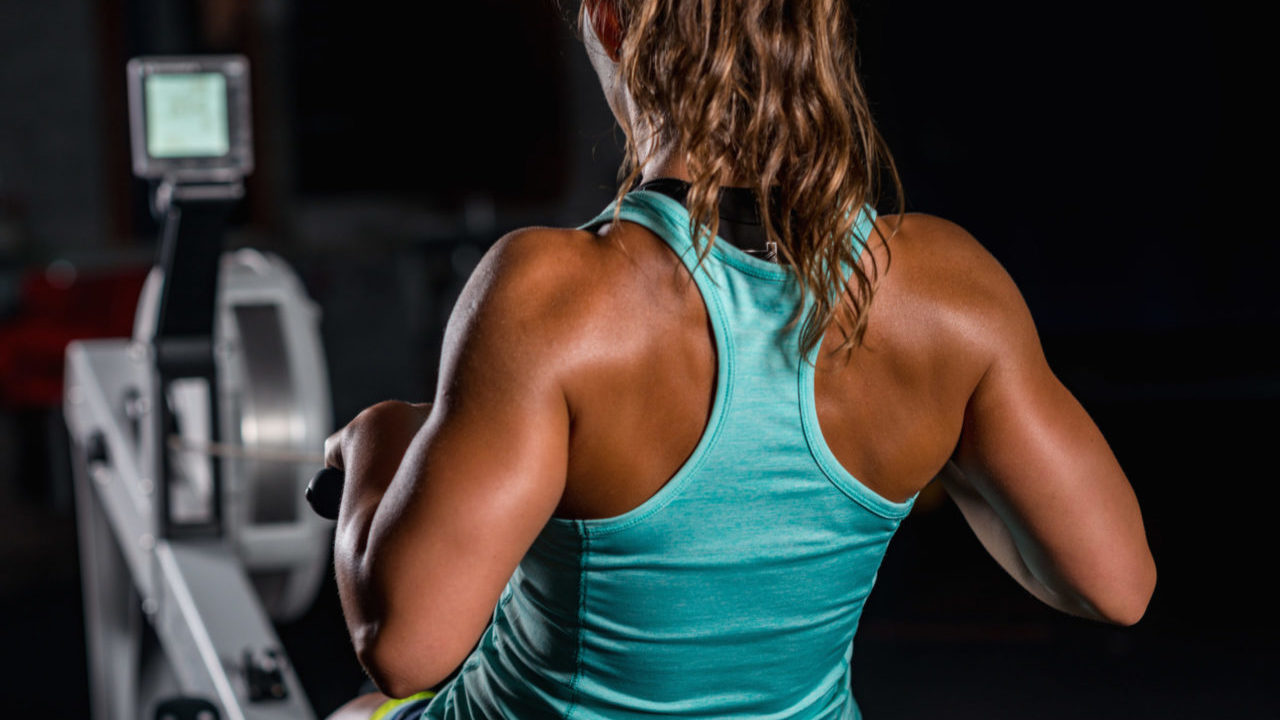
- The Catch– This is the starting position. Strap your feet down tightly and hold the handle lightly. Let your pinkie hang off the handle to be sure you don’t have a death grip on it. Scoot your butt close to your feet and bend your torso forward to about the 1 o’clock position.
- The Drive– This movement is what gives you all your power. Push off using your legs. Use the strength in your thighs and lean back a bit so that your torso is straight up at 12 o’clock. Hold your arms out in front of you but don’t pull the handle to your chest until you get to the very end of your travel. Now you can lean back just a bit to the 11 o’clock position and pull the handle to the bottom part of your bra or the midriff. The order here to remember is legs, torso, arms.
- The Finish– As the name implies, this is the “end” of the stroke or at least, the end of the part that gives you all your power. You should bend your torso slightly backwards, extend your legs fully (don’t lock your knees, however), and keep the handle right underneath your bust line.
- The Recovery– Everyone’s favorite part, right? You will reverse the order you did in the Drive, release your pull on the handle, pull your torso upright to the 12 o’clock position, and then use your legs to slide yourself back to the starting position.
I know this might sound pretty complicated, but it’s much easier to do in practice than to write it out!
Do Pick Drills to Master the Correct Form
I always recommend pick drills to beginners, especially if they’ve never sat on a machine before.
I know you’re anxious to sit on your rowing machine and get your blood pumping, blasting away all those calories, but if you don’t learn the correct rowing form, you’ll end up with a sore back and not much else.
A pick drill means you “pick” one part of the rowing stroke and focus on doing that part until you have it down!
For example:
If you want to practice your leg work on the Drive, don’t even hold the handle. Just sit down and slide forward, then push back with your legs, focusing on not locking your knees and swinging your torso back and forth from the 1 o’clock position in the beginning to the 12 or 11 o’clock position.
Why 12 or 11 o’clock? The rocking of your torso is what works your core muscles. Some people find they aren’t strong enough to lean back to the 11 o’clock setting. You’ll see videos of experienced rowers leaning back much farther, but that’s for the super experienced only. Don’t feel bad if all you can do at first is keep your torso upright at 12 o’clock—that’s perfectly fine.
OK, back to pick drills. Once you think you’ve got the hang of this, you can grab the handle and do just the arms or try the entire stroke slowly to ensure you have everything right.
You can find lots of pick drills online if you want to see them in action!
Best Workouts for Beginners
Once you’ve got your rowing stroke form down, you can move on to some workouts! Yeah! Remember not to push yourself, and if you get winded, rest for a minute, then keep going.
Rowing Workout #1- Stack It Up!
This workout will help build your endurance.
- Start by rowing slowly for 1 minute.
- Now row faster for 1 minute.
- Go all out and row as fast as you can for 1 minute.
- Slow down to a slow paddle for 1 minute.
Keep this up for 20 minutes or until you are worn out!
Rowing Workout #2- Steady as She Goes
This one is a real calorie burner that will increase your metabolism.
- Row slowly for 1 minute.
- Then find a pace that you could keep up for a solid 10 minutes. Think about doing 50% of what your fastest rowing stroke might be. If you are breathing hard and sweating but can talk to someone, that’s probably a good pace.
You can increase this by 1 or 2 minutes each week until you can row for 30 or even 45 minutes nonstop!
Rowing Workout #3- Twist and Shout
If you get bored easily, you might find this type of workout fun!
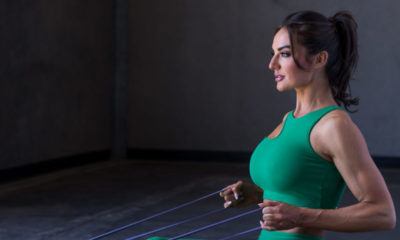
Grab some hand weights or resistance bands, or just put a yoga mat on the floor next to your rower.
- Try rowing for 500 meters at a moderate pace.
- Next, jump off the rower and do something different. Perhaps 25 burpees or 10 pushups. If you have weights or resistance bands, use those for the next minute or two sets of 25 lifts each.
- Then jump back on the rower for another 500 meters as fast as you can row.
Repeat this 2-3 times, alternately rowing between moderate pace and breakneck speed.
This kind of HIIT workout will really get your heart racing and burn major calories.
The Bottom Line
My best piece of advice to beginners is to practice, practice, and practice. Learning the rowing stroke and doing pick drills may not be much fun, but I promise you that it will pay off big time when you try to do longer rowing workouts.
My second-best piece of advice? Be gentle with yourself. We are humans, not machines, and if you skip a week of workouts, it’s fine.
Have fun rowing, everyone!