Fitness
Restore Your Back And Hips
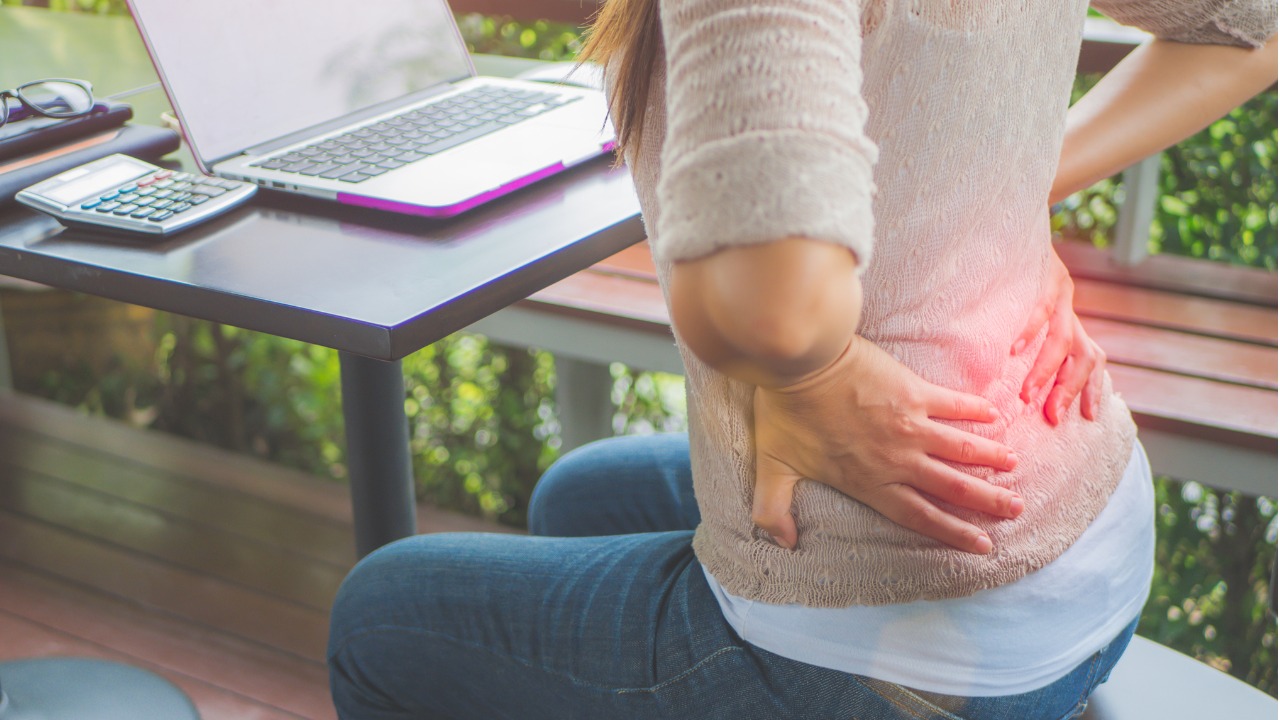
Once your back and hips give you trouble you can kiss tough workouts goodbye and while a miracle stretch or foam roll may offer some relief, nothing compares to this three-pronged approach to fixing these trouble areas once and for all. Do it for a month and the only pain you’ll feel will be courtesy of intense workouts
Cori Lefkowith is a certified trainer and owner of Redefining Strength and inventor of the 21-Day RStoration Program: http://bit.ly/2VM7EAA
Just about everyone is guilty of it: skipping the warm-ups in favor of the “more important” stuff. But what if that boring prehab work is actually the key to getting better results faster from your workouts? Especially if you’ve ever suffered from lower back, hip or knee pain, these moves may be exactly what you need to prevent future injury so that you can set a personal record in your next race, or lift more during your next workout. Stretching alone may not be enough. Preventing injury and improving your mobility and stability is a three-part process: foam rolling, stretching and activation and what follows is a quick series that includes all three components. This is the perfect way to relax tight hip flexors, mobilize your hips and activate your glutes. This series also address this commonly tight muscle that we often ignore that can be responsible for both shoulder and hip issues – the lats!
The Back And Hip Restoration Series
Complete one round through the foam rolling and stretching series. Then complete 1-3 rounds through the activation.
FOAM ROLLING
30 seconds per side TFL Foam Rolling
30 seconds per side Hamstring/Posterior Adductor Foam Rolling
30 seconds per side Lat Foam Rolling
STRETCHING
5-10 reps per side Half Kneeling Hip to Hamstring Stretch
5-10 reps per side Alternating Quadruped Pigeon Pose
5-10 reps per side Active Foam Roller Star Stretch
ACTIVATION
15-25 reps per side Alternating Side Taps
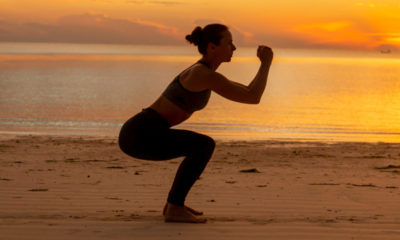
15-25 reps Booty Band Pulse Squats
15-25 reps Booty Band Bridge with Abduction
What to do
STEP 1: ROLLING
- TFL Foam Rolling
WHY
This muscle can become tight and create IT Band issues as well as hip and knee pain. It’s key you relax it so you can then strengthen your glute medius.To roll out your TFL, you can use a roller although a ball works best. The smaller and harder the ball, the more it will dig in. If there is too much pressure and you can’t relax while holding on the tight spot, use something softer or a roller without spikes.
HOW
- A) Place a ball on the ground then position your body so the ball is just below and outside, or back, from your hip bone. You want to almost push it into that hip joint. Roll the ball around slowly to find a tight spot and then hold on any other tight spots.
- B) If you find a tight spot, hold on that spot and lift and lower your leg up and down. By lifting and lowering the leg, you are flexing and relaxing the muscle, which will help loosen everything up as you hold.
- C) As you seek out tight spots in your hip, bring the ball around front and right to the side under your hip bone. Again, hold on any tight spots and even flex and relax your leg to help dig in. You can work your way back out to the side of your hip, and even into your glutes as well, if you find any sore or tight spots. Remember you are holding and breathing to release not rolling fast back and forth over the spot.
- Hamstring/Posterior Adductor Foam Rolling
WHY
Often our hamstrings can compensate for our glutes and become overworked. They can also feel tight, but not because they are shortened but actually because they are overly lengthened due to tight hip flexors. That is why it is key we do some foam rolling to relax them and prevent them from taking over during our glute activation work.
The posterior fibers of your adductors can also tend to compensate for underactive glutes and relaxing and releasing them as well can be key. You can hit both muscles by rolling a ball under your butt from the outside of your leg to your groin before your roll the rest of your hamstrings as well.
HOW
- A) To roll out your hamstrings, a ball is actually best while sitting up on something like a chair, table or box. The pressure you can apply even when isolating one leg on a roller on the ground is limited so using a ball when seated up on something allows you to dig into your hamstring more.
- B) Take the ball and place it at the top of your hamstring right under the bottom of your butt while you are seated up on a chair. Rock side to side on the ball and roll it from your inner thigh out toward the outside of your leg.
- C) Hold on any tight spot and perform small rocks side to side to help you dig into the knot further. You can even flex and relax your hamstring by straightening your leg out and then relaxing your foot back down to the ground to help the muscle release the knot.
- D) Work your way down your hamstring toward your knee. Work all along the hamstring, moving toward your inner thigh and out toward your IT Band. Make sure to hold on any tight spots. Do not spend time on areas of your hamstring that aren’t tight.
- Lat Foam Rolling
WHY
If you tend to round forward and find you have rounded shoulders, your lats may be tight. And tight lats can also lead to anterior pelvic tilt, hip hikes and lower back and hip pain! That’s why it is key we don’t ignore this muscle even though we think of it as an upper body muscle. To roll your lats, a roller is best although you can use a foam ball or even a tennis ball.
HOW
- A) Start by lying on your side with a roller under one armpit. Extend the arm on the side with the roller up above the roller. You can turn your palm up toward the ceiling to externally rotate your shoulder.
- B) Then rock forward and backward on the roller, rotating your chest toward the ground and then up toward the ceiling as you roll on the roller so it hits toward your ribs and then toward your back.
- C) Hold on any tight spots you find then move it lower down the side of your back. Hold on any tight spots as you go and make sure to rock forward and backward as you make your way down your side.
- D) As you work down your side, you may want to rotate slightly more toward your back. Work all the way from your armpit to about the end of your rib cage. You can even work slightly back under your shoulder blade.
STEP 2: STRETCHING
- Half Kneeling Hip to Hamstring Stretch
WHY
Most of us spend way too much time seated which means our hips are constantly in flexion. This can lead to shortened tight hip flexors. This move is a great way to start mobilizing your hips before you workout.
HOW
- A) Start half kneeling with your back knee almost under your hip. Your front knee should be bent to about 90 degrees with your knee aligned basically over your ankle.
- B) Squeeze your glute on the side of the knee that is back to drive your hip forward into extension as you reach overhead. Pause for a second as you squeeze. Do not arch your lower back though as you drive your hip forward.
- C) Sit back, lowering your arm as you extend your front leg. Hinge at the hips to sit your butt back toward your heels. You can lean your chest over that front leg to feel your hamstring stretch, but don’t just round over. Then move back to half kneeling and repeat, stretching out your hip by focusing on squeezing your glute.
- Alternating Quadruped Pigeon Pose
WHY
All too often people suffer from piriformis issues. This move is a great way to prevent that muscle from becoming shortened and tight. By doing this stretch, you’ll improve your hip mobility and even help yourself better be able to activate your glute medius during the activation series.
HOW
- A) Start on your hands and knees on the ground. Then straighten your left leg out and slide it behind and over your right. As you rotate to slide your left leg over and behind your right, begin to walk your hands over to the left and rotate your body.
- B) You will basically keep your right leg still as you rotate your upper body to the left and slide your left leg over and behind your right to shift into a pigeon pose. Sit back into the right butt cheek as you walk your hands out and pause in pigeon.
- C) Bend your left knee and walk your hands back around front as you shift back into the quadruped position. Switch sides, walking your hands to the right as you slide your right leg over and behind your left leg. You will rotate your body to sit into pigeon pose on the left side.
- D) Pause in pigeon pose and really push that left glute back as you square up your hips. Then come back into the quadruped position and repeat on that first side.
- Active Foam Roller Star Stretch
WHY
Spinal mobility is key if you want to prevent overload of your lower back. When you lack mobility in one area, your body takes the path of least resistance to perform a move and will ask other areas to pick up the slack. Your lower back is often asked to do more than it should because we lack thoracic mobility especially. This move helps improve your spinal mobility and may even feel like an amazing release for your lower back.
HOW
- A) Grab a foam roller or block that you can place on the ground under your knee. Start by lying on your back with the roller running parallel to your body and about the middle at waist height. Bend your knee, on the side furthest from the roller, and bring it up toward your chest so that your hip is bent to about 90 degrees.
- B) Take the hand on the same side as the roller and reach across to the outside of that knee and pull your knee across your body to place it on the roller. Hold your knee down on the roller. You will want to keep your knee on the roller even if you do roll forward or backward a bit on it. Just don’t let the knee come up off of it.
- C) Place your other hand behind your head so your elbow is open and out. Rotate to bring that elbow down on the ground by your opposite shoulder.
- D) Then lift the elbow up and rotate your chest back open toward the ceiling as you try to touch your shoulder and that elbow back down on the ground. You are trying to rotate as open as you can, twisting through your spine without letting your knee come up off the roller. Open up, pause and then rotate back closed. Repeat all reps on one side before switching.
STEP 3: ACTIVATION
1. Alternating Side Taps
WHY
Glutes are too often underactive and focused moves like these are a great way to get them activated. Abduction moves too, like these Alternating Side Taps, are a great way to activate our glute medius especially to improve our hip stability. And if you run, improving your hip stability and strengthening your glute medius may be exactly what you need to prevent hip and knee pain!
HOW
- A) To do Alternating Side Taps, place a band right above your knees. Stand with your feet a few inches apart so there is just a little bit of tension on the band. Push your butt back slightly and soften your knees so you are in a slightly hinged position. Then step one foot out to the side. Step the other foot toward it without fully stepping together and losing tension on the band.
- B) Step that foot back out and bring the other back to the starting position. Keep alternating steps back and forth, staying in that slightly hinged position as you go. Do not step so wide your knees cave in. Make sure you can really press out against the band.
- Booty Band Pulse Squats:
WHY
This is the perfect way to really activate and warm up your glutes before a workout. Because of the constant tension, you’ll really feel the burn adding up in your glutes and your legs warming up as well.
HOW
- A) Place the booty band around your legs above your knees and stand with your feet about hip-width apart.
- B) Sit back and down, pressing your knees out against the band so your ankles, knees and hips stay in line. You do not want your knees to cave in.
- C) Sink to about parallel to the ground and then pulse a few inches up and down from here. You do not want to start below parallel and you don’t want to stand fully up as you pulse. You want the range of motion to be about 6 inches around that parallel position. Once all pulses are complete, stand up. Make sure your knees don’t cave in as you pulse and that your heels stay down and feet are flat on the ground. Do not round over. Make sure to keep your back flat and chest up.
- Booty Band Bridge with Abduction
WHY
Bridges are an amazing move if you really want to improve your hip extension. And by using the posterior pelvic tilt during the move, you can even work your abs.
HOW
- A) Place the Booty Band right above your knees and lie on your back with your knees bent and feet together and flat on the ground just beyond your finger tips when your arms are stretched down by your sides.
- B) Bend your elbows to 90 degrees and drive your upper arms down into the ground. Squeeze your legs together and even posterior tilt your pelvis, pressing your lower back into the ground.
- C) Bridge up, driving through your heels. At the top, push your knees out against the band as far apart as you can. Bring your knees back together and squeeze your legs together as you lower down.
D) Repeat bridging back up. Do not arch your lower back just to bridge up higher. Really feel your glutes working to bridge up then the sides of your butt working to press your knees open. You may even feel your inner thighs working as you lift and lower.The band may lose tension as you squeeze your legs together but should become tight as you fully press to abduct at the top.


